
How to Build Strength Without a Gym: A Beginner’s Home Training Guide

If your goal is to get stronger at home, the short answer is yes—you can absolutely make real strength progress without joining a gym. The longer answer is that you need the right exercises, enough challenge, and a simple way to keep making those exercises harder over time.
That last part matters. A lot of home workouts leave people tired, sweaty, and sore, but not necessarily stronger. Strength training is different from just “working out hard.” Strength improves when your muscles are asked to do more than they’re used to, then recover and adapt. That can happen with bodyweight training, resistance bands, dumbbells, or a mix of all three.
If you want the bigger picture on setting up your space, it also helps to read how to build a home gym and how to build a home gym cheaply. This guide focuses on the training side: what to do, how to progress, and what to buy first if you want the simplest path.
Can You Really Build Strength Without a Gym?
Yes. You do not need a commercial gym to get stronger. What you do need is resistance that challenges you enough to force adaptation. At home, “enough resistance” usually means this: by the end of a set, you should feel like you could only do a few more clean reps if you had to. If you can breeze through 20 reps with perfect form and plenty left in the tank, the exercise is probably too easy for strength work.
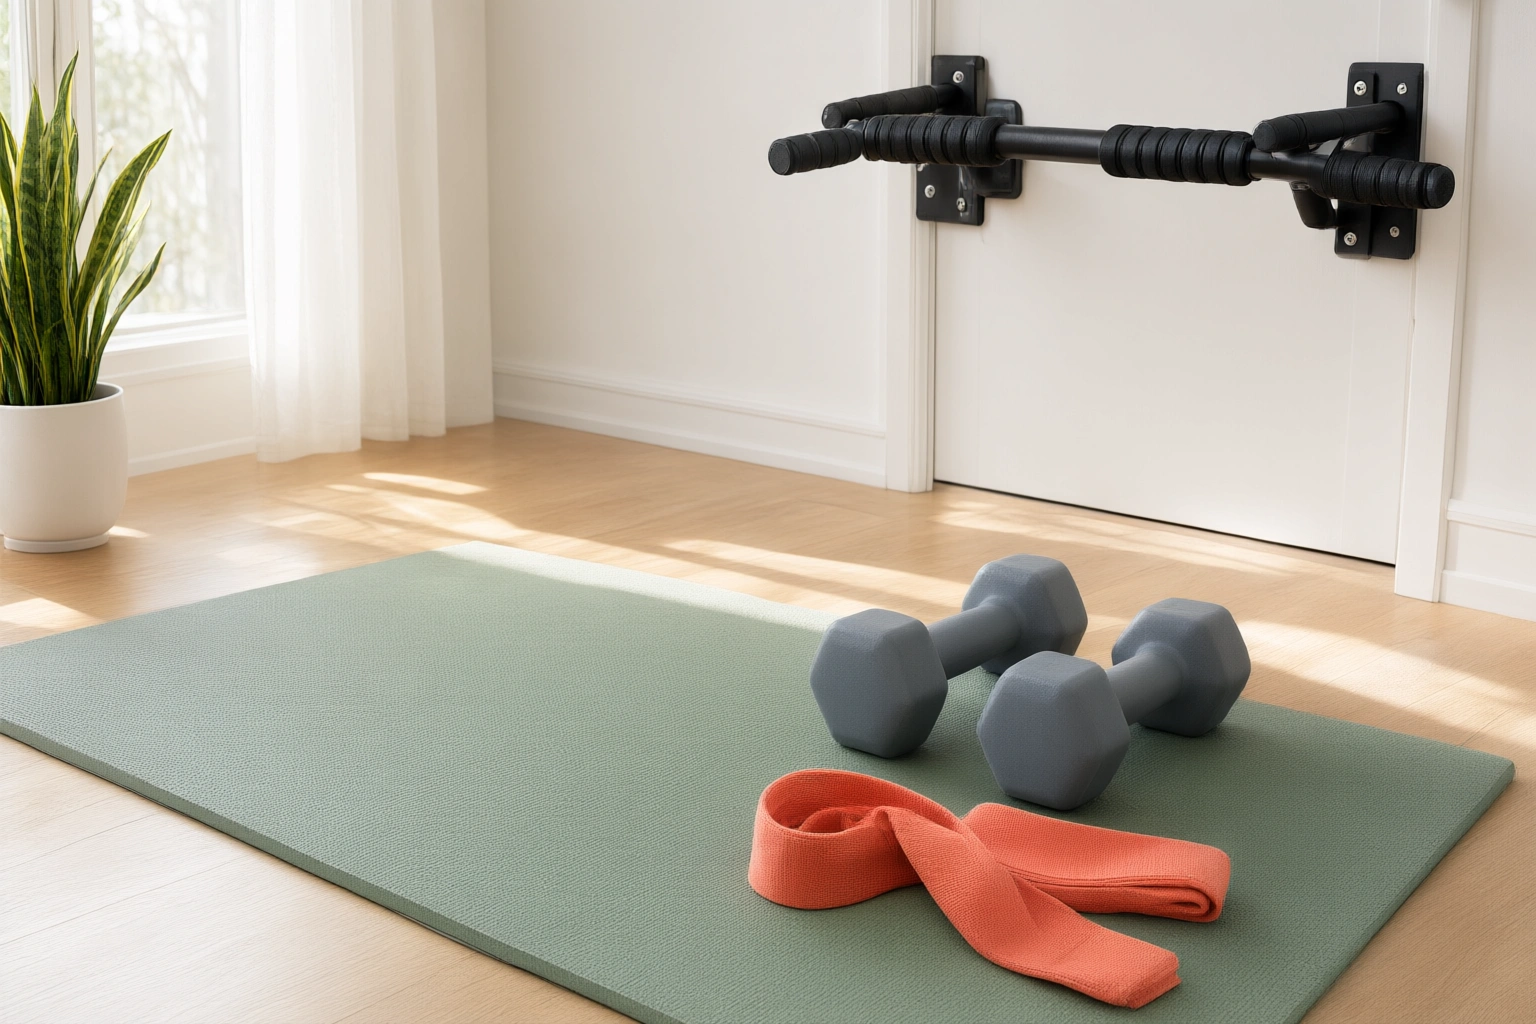
That resistance can come from your own body, a band, a dumbbell, a kettlebell, or a pull-up bar.
The main limitation of home training is not effectiveness. It is progression. At first, push-ups, squats, lunges, and planks may be plenty hard. Later, those same exercises can become too easy unless you change the variation, slow the movement down, add load, or increase range of motion. That is where many people stall.
The Basic Idea: Strength Comes from Progressive Overload
Progressive overload means gradually making training harder in a planned way. You are not trying to destroy yourself every session. You are trying to create a small, repeatable reason for the body to adapt.
At home, progressive overload can happen in several ways:
- Add repetitions
- Add a set
- Slow the lowering phase
- Pause at the hardest point
- Increase range of motion
- Use a harder variation
- Shorten rest slightly
- Add external load with bands or weights
For a beginner, the easiest rule is this: if you can complete the top end of your target reps with clean form for all sets, make the next session a little harder. That might mean one more rep per set, a slower tempo, or a tougher version of the same exercise.
The Main Movement Patterns to Train at Home
Rather than chasing random exercises, build your plan around five movement patterns. This keeps training balanced and makes it easier to spot what is missing.
1. Push
Push exercises train your chest, shoulders, and triceps. Think push-ups, incline push-ups, wall push-ups, and floor presses with dumbbells.
2. Pull
Pulling trains your back and biceps. This is the pattern most beginners neglect at home because it is harder to do without equipment. Rows, band rows, towel rows, and pull-ups or assisted pull-ups all fit here.
3. Squat
Squats train your thighs and glutes. Bodyweight squats, goblet squats, split squats, and chair-assisted squats all belong in this category.
4. Hinge
The hinge pattern targets the glutes and hamstrings. Glute bridges, hip hinges, Romanian deadlifts with dumbbells, and kettlebell deadlifts are useful here.
5. Core
Core work helps you brace, stabilize, and transfer force. Planks, dead bugs, side planks, and carries are better choices than endless crunches if your goal is strength.
A balanced home plan should hit all five patterns across the week. For beginners, a simple rule is to include 1 push, 1 pull, 1 squat, 1 hinge, and 1 core exercise per session. If you train three days per week, that gives you enough practice without making the workouts complicated.
Best Strength Exercises You Can Do Without a Gym
Here is a practical starter list, with easier versions first so you can match the exercise to your current level.
Push exercises
- Wall push-ups
- Incline push-ups on a counter, bench, or sturdy table
- Knee push-ups
- Standard push-ups
Pull exercises
- Resistance band rows
- Bent-over dumbbell rows
- One-arm dumbbell rows
- Pull-ups or assisted pull-ups if you have a bar
- Door-anchor band pulldowns if set up safely
Pulling is the hardest pattern to replace without equipment, which is why a band or pull-up bar is often the first worthwhile purchase.
Squat exercises
- Chair squats
- Bodyweight squats
- Split squats
- Bulgarian split squats
- Goblet squats with a dumbbell or kettlebell
If regular squats feel too easy, single-leg work is usually the next step. Split squats are especially useful because they make a light load feel much heavier.
Hinge exercises
- Glute bridges
- Hip thrusts with shoulders on a couch or bench
- Bodyweight good mornings
- Dumbbell or kettlebell Romanian deadlifts
Core exercises
- Plank
- Side plank
- Dead bug
- Bird dog
- Hollow hold regressions
For beginners, the goal is not to chase the longest plank possible. It is to hold a strong position without sagging or twisting.
Beginner Progression: Push-Up and Pull-Up Ladder
If you cannot do a standard push-up or pull-up yet, use a step-by-step ladder instead of forcing the final version too early.
Push-up ladder
-
Wall push-ups
Move to the next level when you can do 3 sets of 12 to 15 with a straight body and full control. -
Incline push-ups on a counter, bench, or sturdy table
Move on when you can do 3 sets of 8 to 12 with your chest reaching the same depth each rep. -
Lower incline push-ups
Use a lower surface than before. Move on when you can do 3 sets of 8 to 10 cleanly. -
Knee push-ups
Move on when you can do 3 sets of 8 to 12 without sagging at the hips. -
Standard push-ups
Stay here until you can do 3 sets of 8 to 15 with full range of motion. -
Harder push-up variations
Feet-elevated, slow-tempo, paused, or weighted push-ups.
Pull-up ladder
-
Dead hang
Start with 3 holds of 10 to 20 seconds if you have a bar. -
Scapular pull-ups
Move on when you can do 3 sets of 5 to 8 with control. -
Band-assisted pull-ups or foot-assisted pull-ups
Move on when you can do 3 sets of 3 to 5 with smooth reps. -
Negative pull-ups
Jump or step to the top, then lower for 3 to 5 seconds. Move on when you can do 3 sets of 3 to 5 with controlled lowering. -
Full pull-ups
Build toward 3 sets of 3 to 8 before making the movement harder.
If you do not yet have a pull-up bar, band rows and dumbbell rows are a good place to start until you can add one.
How to Make Bodyweight Workouts Harder Over Time
When bodyweight work gets too easy, the answer is not to add endless reps forever. Use one of these progression methods instead.
Add reps first
This is the simplest path. If you did 2 sets of 8 incline push-ups last week, try 2 sets of 9 this week.
Slow the tempo
A slower lowering phase increases tension. For example, lower for 3 seconds, pause briefly, then press up. This is especially useful for push-ups, squats, and split squats.
Increase range of motion
Drop deeper in a squat if your mobility allows it. Lower your hands on incline push-ups. Elevate your feet for a harder push-up once floor reps are solid.
Use harder variations
Move from wall push-ups to incline push-ups, then knee push-ups, then standard push-ups. Move from bodyweight squats to split squats, then Bulgarian split squats.
Shorten rest carefully
If you are resting 90 seconds between sets, try 75 seconds. Keep this modest. Rest that is too short can turn strength work into conditioning.
Add load
A band, dumbbell, or kettlebell makes progression easier to measure. That is often the cleanest solution once bodyweight progress slows.
A useful rule: once you can hit the top of your rep range with good form for every set, make the next session slightly harder. That keeps the plan simple and avoids guesswork.
What Equipment Is Worth Buying First?
If your budget is tight, buy equipment that solves the biggest training bottleneck. Here is the practical order I recommend for most beginners.
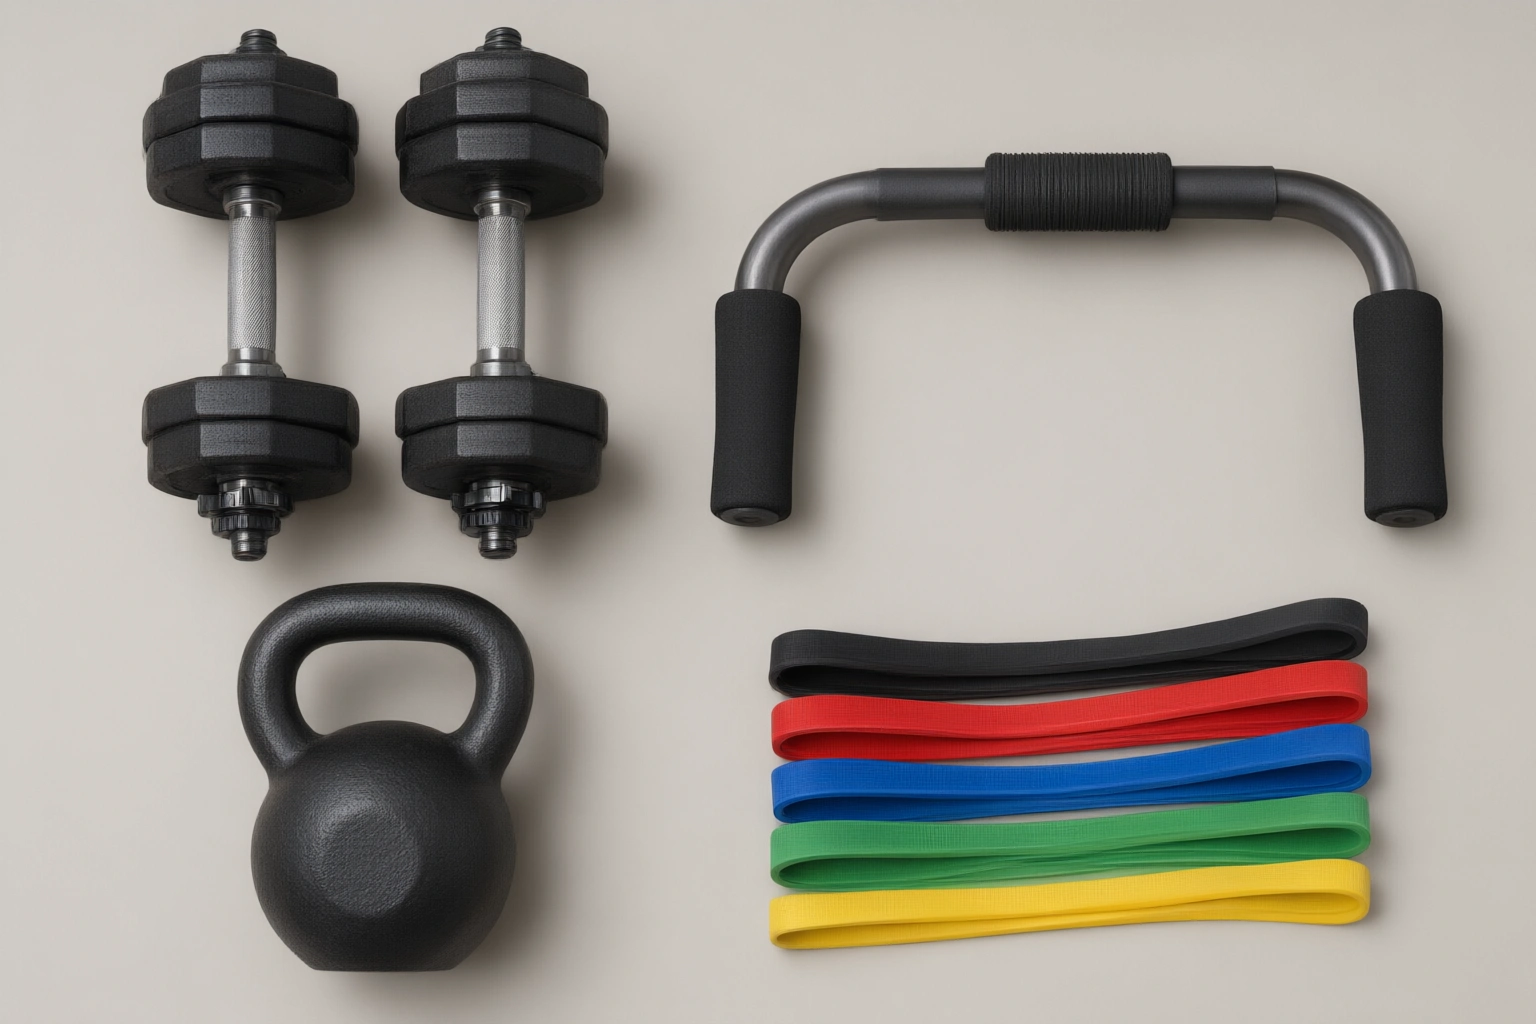
If you want to start with zero equipment
Start with bodyweight training first if your main goal is to build the habit, learn the movements, and spend nothing. You can do a lot with push-up progressions, squats, split squats, glute bridges, planks, and rows using a sturdy table or towel setup if appropriate.
If you can buy one thing first
- Buy resistance bands first if you need the cheapest way to train your back and make push/pull work more versatile.
- Buy a pull-up bar first if your main goal is to build upper-body pulling strength and you have a safe place to mount it.
- Buy adjustable dumbbells first if you want the most straightforward progression for pressing, rowing, squatting, and hinging.
If you can buy two things first
- Bands + pull-up bar: best for cheap upper-body progression and assisted pull-up work.
- Bands + adjustable dumbbells: best all-around low-budget setup for most beginners.
- Pull-up bar + dumbbells: best if you care most about balanced full-body strength.
My decisive priority list by goal
- Absolute lowest budget: start with zero equipment
- Best cheap upgrade: resistance bands
- Best pulling progress: pull-up bar
- Best overall progression: adjustable dumbbells
- Best simple full-body tool: kettlebell, but it is usually less flexible than adjustable dumbbells
For most beginners, bands plus a pair of adjustable dumbbells is the most flexible low-budget combination. If you can only buy one thing, choose the tool that removes your biggest limitation: bands for pulling, dumbbells for easy overload, or a pull-up bar for vertical pulling.
A Simple Beginner Strength Plan for Home
Keep this full-body. Beginners usually do better with a simple three-day structure than with a complicated split.
Weekly schedule
- Monday: Full body
- Wednesday: Full body
- Friday: Full body
Workout A
- Incline or standard push-ups — 2 to 3 sets of 8 to 12
- Bodyweight or goblet squats — 2 to 3 sets of 8 to 12
- Band rows or dumbbell rows — 2 to 3 sets of 8 to 12
- Glute bridges — 2 to 3 sets of 10 to 15
- Plank — 2 to 3 holds of 20 to 40 seconds
Workout B
- Knee push-ups or harder push-up variation — 2 to 3 sets of 6 to 10
- Split squats — 2 to 3 sets of 6 to 10 per leg
- One-arm rows or band rows — 2 to 3 sets of 8 to 12
- Hip hinge movement — 2 to 3 sets of 8 to 12
- Side plank — 2 to 3 holds per side
Rest periods
Rest about 60 to 90 seconds between sets for most beginner work. If your form breaks down, rest a little longer.
How hard should the sets feel?
Finish most sets with a little left in the tank. You want effort, not sloppy failure. If you are grinding every rep, the exercise may be too hard for your current level or the volume may be too high.
A simple 4- to 8-week progression example
Use the same A/B workouts for several weeks and progress one variable at a time.
Weeks 1 to 2
– Stay at the low end of the rep ranges
– Use easier variations if needed
– Keep 2 sets for most exercises
Weeks 3 to 4
– Add 1 rep per set where possible
– Move any exercise that is too easy to the next harder variation
– Add a third set to one or two main lifts if recovery feels good
Weeks 5 to 6
– Keep the same exercises but slow the lowering phase on one main push and one main leg movement
– Add reps again only if form stays clean
Weeks 7 to 8
– Increase difficulty again by moving to a harder variation, adding a little load, or reducing rest slightly
– If you are still recovering well, keep three sets on the main exercises and two sets on the smaller ones
This is where full-body training beats a split for most beginners. It is simpler, easier to recover from, and less likely to leave you skipping body parts you do not enjoy.
How to Track Progress Without a Barbell
Tracking matters because strength gains at home can be subtle. Use a workout log and record only a few things:
- Exercise variation
- Sets and reps
- Rest time
- Any added load
- How clean the reps looked
Simple repeatable tests
Pick one or two tests and repeat them every 2 to 4 weeks:
- Push-up test: max clean reps of your current push-up variation
- Plank test: longest hold with perfect form
- Split squat test: reps per leg with the same variation and load
- Row test: reps with the same band or dumbbell
Simple logging template
Use a note app or notebook and write this after each workout:
- Date:
- Workout A or B:
- Exercise:
- Variation/load:
- Sets x reps:
- Rest:
- Notes on form:
Example:
– Date: Tuesday
– Workout: A
– Exercise: Incline push-up
– Variation/load: Counter height
– Sets x reps: 3 x 10
– Rest: 75 seconds
– Notes: Last 2 reps were slow but clean
Progress can show up in several ways:
– You do more reps with the same variation
– You move to a harder version
– You use a heavier dumbbell or tighter band
– Your form improves at the same workload
– You need less rest for the same quality work
A simple benchmark like a push-up test or plank hold gives you a clearer answer than “I think I’m getting stronger.”
Common Mistakes That Make Home Workouts Less Effective
Turning strength sessions into cardio circuits
If you race through ten exercises with almost no rest, you may improve conditioning more than strength. Strength work needs enough rest to keep the reps strong and controlled.
Ignoring pulling and hinge work
A plan built only on push-ups, squats, and planks is incomplete. Back and posterior-chain work matter.
Chasing advanced variations too soon
A hard-looking movement is not automatically the best one. Use the version you can control.
Never tracking anything
If you do not log reps, sets, or variation changes, it becomes hard to know whether you are actually progressing.
Waiting for perfect equipment
A simple routine done consistently beats a perfect setup that never gets used.
How to Keep Progressing When Exercises Get Easy
When you hit a plateau, do not overhaul everything. Make one change at a time.
Try this order:
1. Add reps within your target range.
2. Slow the lowering phase.
3. Add a pause at the hardest point.
4. Increase range of motion.
5. Switch to a harder variation.
6. Add a band, dumbbell, or kettlebell.
For example, if standard push-ups stall, you might move to slow-tempo push-ups, then feet-elevated push-ups, then weighted push-ups later. For squats, you might move from bodyweight squats to split squats, then goblet squats.
A plateau is not a failure. It is a signal that the exercise has stopped being challenging enough in its current form.
A Realistic Starter Setup for Small Spaces and Tight Budgets
Here are two practical setups that work well in apartments, bedrooms, or garages.
Ultra-budget setup
- Floor space only
- Chair or sturdy counter
- A towel or mat
- Optional resistance band
This setup is enough for push-up progressions, squats, split squats, glute bridges, planks, and band rows. It is the cheapest way to begin and works well if your main goal is to build the habit.
Better long-term budget setup
- Pull-up bar
- Resistance band set
- Pair of adjustable dumbbells
This gives you a much better path for pulling, pressing, squatting, and hinging. It also makes progression easier to measure, which matters once bodyweight work gets too easy.
If you are also planning the room itself, how to create a simple home gym and how to create a home gym in any room can help you set up a space that does not feel cluttered or complicated.
When to Consult a Personal Trainer
If you are unsure about form, have pain during training, or keep stalling because you cannot tell whether your plan is appropriate, a good personal trainer can help you simplify the process. That is especially useful if you want feedback on movement quality, exercise selection, or how to progress safely with limited equipment.
FAQ
How many days per week should I train at home?
For beginners, three full-body sessions per week is a strong starting point. It gives you enough practice to improve without making recovery or scheduling too difficult.
What if I can’t do a regular push-up yet?
Use wall push-ups, then incline push-ups, then knee push-ups. Work through the versions in order until the next one feels manageable with good form.
Can I build strength with no equipment at all?
Yes, especially at the beginning. Bodyweight training can be enough to start building strength, but progression gets easier if you eventually add bands, dumbbells, or a pull-up bar.
How long does it take to see results?
That varies by training history, consistency, sleep, and exercise selection. A better question is whether your reps, variation difficulty, or load are improving over time. That is the real sign the plan is working.
Is bodyweight training as good as lifting weights?
It can be very effective, especially for beginners. The main difference is that weights often make progression easier to measure once bodyweight movements stop being challenging.
What is the best equipment to buy first?
For most beginners, resistance bands or adjustable dumbbells give the most useful progression. If you want better upper-body pulling, a pull-up bar is also a smart buy.
How do I know if I am getting stronger?
Look for more reps, harder variations, better form, or more load with the same control. If those numbers are moving in the right direction, you are getting stronger.
Strength at home is not complicated. Pick a few good movements, train them consistently, and make them harder in small steps. That is enough to build a solid foundation without paying for a gym membership.