
How to Turn a Garage Into a Home Gym

A garage can become a practical home gym without a full renovation, but the best results come from planning in the right order. If you buy equipment first and figure out the space later, you usually end up with clutter, poor flooring, and a room that feels uncomfortable to use.
The smarter approach is to treat the garage like a small project with a sequence: clear the garage, inspect for moisture and damage, plan the layout, choose flooring, handle comfort upgrades, then buy equipment. That order keeps the conversion manageable and helps you avoid expensive do-overs.
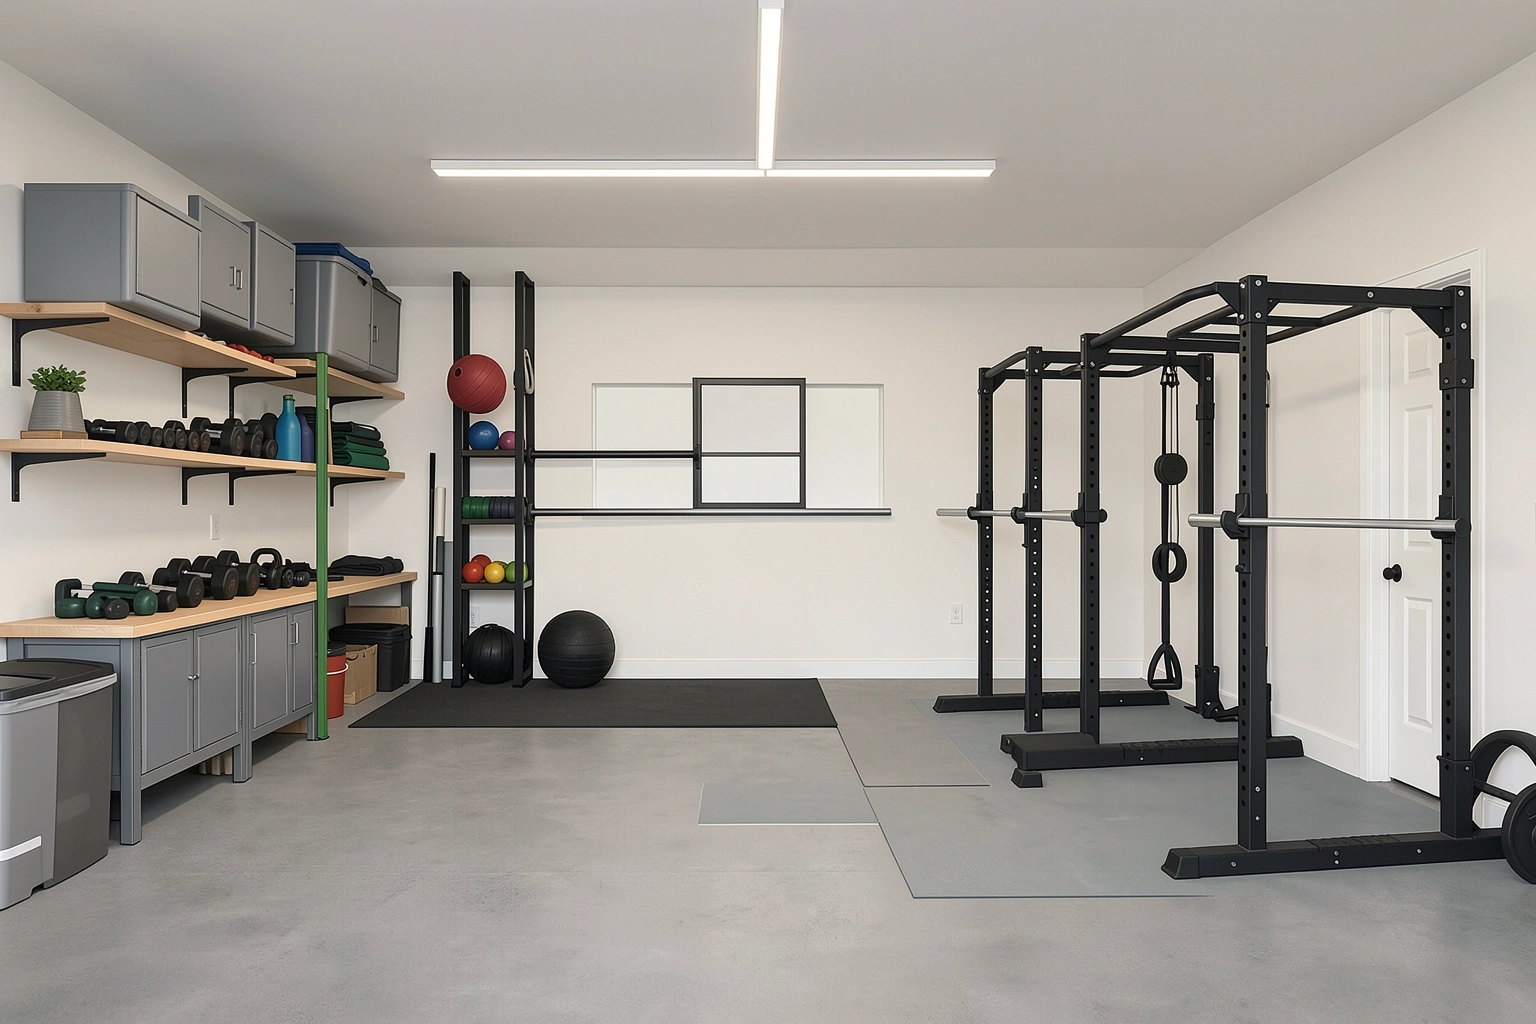

Start With the Right Garage Gym Plan
Before you spend money, define what the garage needs to do. A garage gym for strength training looks different from one built around cardio, mobility, or general fitness. A simple plan prevents the most common mistake: creating a space that looks complete but does not match how you actually train.
Decide what the garage must still do
If the garage also needs to hold a car, bicycles, tools, or seasonal storage, that changes the layout immediately. A half-garage setup may be the best fit if you want to preserve parking space. If the garage is rarely used for vehicles, a full conversion gives you more freedom for a rack, dumbbell storage, and open floor space.
A practical planning order is:
1. Keep parking space if you need it
2. Fit strength equipment
3. Make the garage comfortable year-round
4. Add storage and finish details
That order helps separate essentials from upgrades you can add later.
Match the setup to your training style
A lifter who wants barbell work needs different equipment than someone doing circuit training or treadmill walking. For example:
– Strength-focused setup: power rack, barbell, weight plates, adjustable bench
– General fitness setup: adjustable dumbbells, resistance bands, mat space, compact cardio machine
– Mixed-use setup: foldable bench, wall storage, portable equipment, clear center aisle
If your training is still evolving, choose versatile gear first. It is easier to add specialty equipment later than to recover space from a large machine you do not use.
Measure the Space and Choose a Layout
A garage gym works best when the layout is planned around movement, not just storage. Measure the usable floor area after accounting for doors, water heaters, utility panels, and any items that must stay in place.
Single-car vs. two-car garage
A single-car garage usually forces trade-offs. You may need to choose between a full rack and open floor space, or between a car bay and permanent equipment. A two-car garage gives more flexibility, especially if one side is reserved for lifting and the other for storage or conditioning.
A practical layout approach:
– Single-car garage example 1: one wall for wall-mounted storage, one rear corner for a power rack, and the center kept open for lifting and mobility work. If parking must stay, use foldable equipment and keep the rack shallow enough that the car can still pull in on the opposite side.
– Single-car garage example 2: a bench, adjustable dumbbells, and a compact cardio machine along one side wall, with mats in the center and ceiling or wall storage above. This works well if the car still needs to fit in part of the bay.
– Two-car garage example 1: one side for a rack, barbell, and plates; the other side for a rower, bike, or mobility zone, with storage across the rear wall.
– Two-car garage example 2: one bay kept mostly clear for parking, the other bay converted into the primary gym with a rack, bench, and storage wall. This is often the easiest way to preserve daily parking while still building a serious garage gym.
Map your movement zones
Leave enough room to load a barbell, step back from a rack, and move around benches without clipping walls or shelves. Also account for door swing, garage door tracks, and any low-hanging obstacles.
A simple sketch on graph paper or a notes app is enough. Mark:
– rack or bench position
– storage wall
– walking path
– open training area
– any fixed equipment or utility access
That step sounds basic, but it saves money because it shows what actually fits before you order anything.
Clear Out, Clean Up, and Check the Garage Condition
Before flooring or equipment goes in, the garage needs a clean baseline. Dust, moisture, cracks, and pests all affect how usable the space will be.
Clean and declutter first
Remove everything that does not belong in the gym. Group items into keep, donate, store elsewhere, and discard. Then sweep, vacuum corners, and clean the floor thoroughly so you can see the condition of the slab.
If the garage has been used for storage for years, this step often reveals issues that were hidden under boxes: oil stains, chipped concrete, water marks, or signs of insects.
Inspect for moisture and damage
Look for:
– visible cracks in the slab
– water intrusion after rain
– mold or mildew smell
– rust on metal items stored near the floor
– gaps around the garage door or wall edges
– pest activity
Moisture matters because it affects flooring, equipment, and air quality. If the garage gets damp, that should be addressed before you install mats or store steel equipment. A dehumidifier can help in humid climates, but persistent water intrusion may require sealing, drainage, or professional repair.
For general guidance on indoor air quality and moisture control, the U.S. Environmental Protection Agency is a useful starting point.
Set a Realistic Budget for a Garage Gym Conversion
A garage gym can be built on several budget levels. The right budget depends on whether you want a basic training space or a more finished, year-round setup.
Budget tiers to think about
Instead of trying to price the entire project at once, break it into layers:
-
Basic setup: about $500 to $2,500
Usually covers cleaning, simple flooring, a few pieces of compact equipment, and basic storage. This tier often works for bodyweight training, dumbbells, a bench, and a small amount of wall storage. -
Mid-range setup: about $2,500 to $7,500
Often includes better flooring, improved lighting, more organized storage, and some comfort upgrades like a fan or dehumidifier. This range may also cover a power rack, barbell, plates, and a more complete starter setup. -
High-end or full conversion: about $7,500 to $20,000+
Can include insulation, ventilation or cooling improvements, dedicated electrical work, upgraded lighting, more finish work, and a fuller equipment lineup. Costs can go higher if the garage needs structural repairs, HVAC work, or extensive electrical upgrades.
A useful way to control spending is to prioritize in this order:
1. Safety and floor protection
2. Climate and moisture control
3. Lighting and power
4. Equipment
5. Finish details and accessories
That order keeps the money going into items that affect daily use first.
DIY vs. hiring professionals
A DIY garage gym conversion is usually the most budget-friendly approach for flooring, cleaning, storage, and simple assembly. Hiring professionals becomes more relevant when the project involves electrical changes, insulation work, or structural modifications.
DIY makes sense when:
– the floor is in decent shape
– the garage already has usable power and lighting
– you are installing removable or non-structural upgrades
– you are assembling racks, benches, and storage systems
Professional help is worth considering when:
– you need new circuits or outlet work
– the garage has moisture or structural issues
– you want insulation or HVAC changes done correctly
– you are cutting into walls, modifying framing, or changing fixed systems
For code and permit awareness, your local building department is the authority to check before making changes. If electrical work is involved, the National Fire Protection Association is a helpful source for general safety context, but local rules still control what is allowed.
Upgrade the Garage for Comfort and Year-Round Use
A garage gym that is too hot, too cold, or too damp tends to get used less. Comfort upgrades do not need to be elaborate, but they should match your climate.
Insulation and sealing
If the garage is exposed to extreme temperatures, insulation can make a meaningful difference in comfort. Sealing gaps around doors, windows, and wall penetrations also helps reduce drafts and dust.
Not every garage needs a full insulation project. A mild-climate garage used for short workouts may be fine with basic sealing and a fan. A cold-climate or humid garage usually benefits more from insulation and moisture control.
What to prioritize in hot, cold, and humid garages
- Hot garage: Start with airflow. A fan is often the first upgrade because it improves comfort quickly and cheaply. If the garage stays hot for long periods, add ventilation or consider cooling support. In very hot climates or for frequent use, an HVAC upgrade may be worth it if the garage is fully enclosed and used year-round.
- Cold garage: Start by sealing drafts and adding insulation if the space is used regularly. A portable heater may help for short sessions, but it is usually better as a supplement than a long-term fix. If the garage is used as a daily training space in a cold climate, improving the heating system or extending HVAC may be more practical.
- Humid garage: Start with moisture control. A dehumidifier is often the most useful first step if the garage feels damp, equipment shows surface rust, or the air stays sticky. Add ventilation if the space also traps stale air. If humidity is caused by water intrusion, address the source first before relying on a dehumidifier.
Heating, cooling, and ventilation
Use climate control based on the problem you actually have:
– Cold garage: portable heater or improved heating solution, plus insulation if the space is used often
– Hot garage: fan, ventilation, or cooling support
– Humid garage: dehumidifier and better airflow
Ventilation matters even if you are not running heavy machinery. A closed garage can trap stale air, odors, and humidity. If the garage has an attached water heater or other fuel-burning appliance, check local safety guidance before making changes to airflow or sealing.
A humid-climate example
A garage in a humid area may work well with sealed gaps, a dehumidifier, LED lighting, and a wall-mounted fan. That combination is often more practical than trying to fully condition the space like a living room.
Choose the Best Flooring for Your Garage Gym
Flooring is one of the most important decisions in the conversion because it affects comfort, noise, equipment protection, and safety.
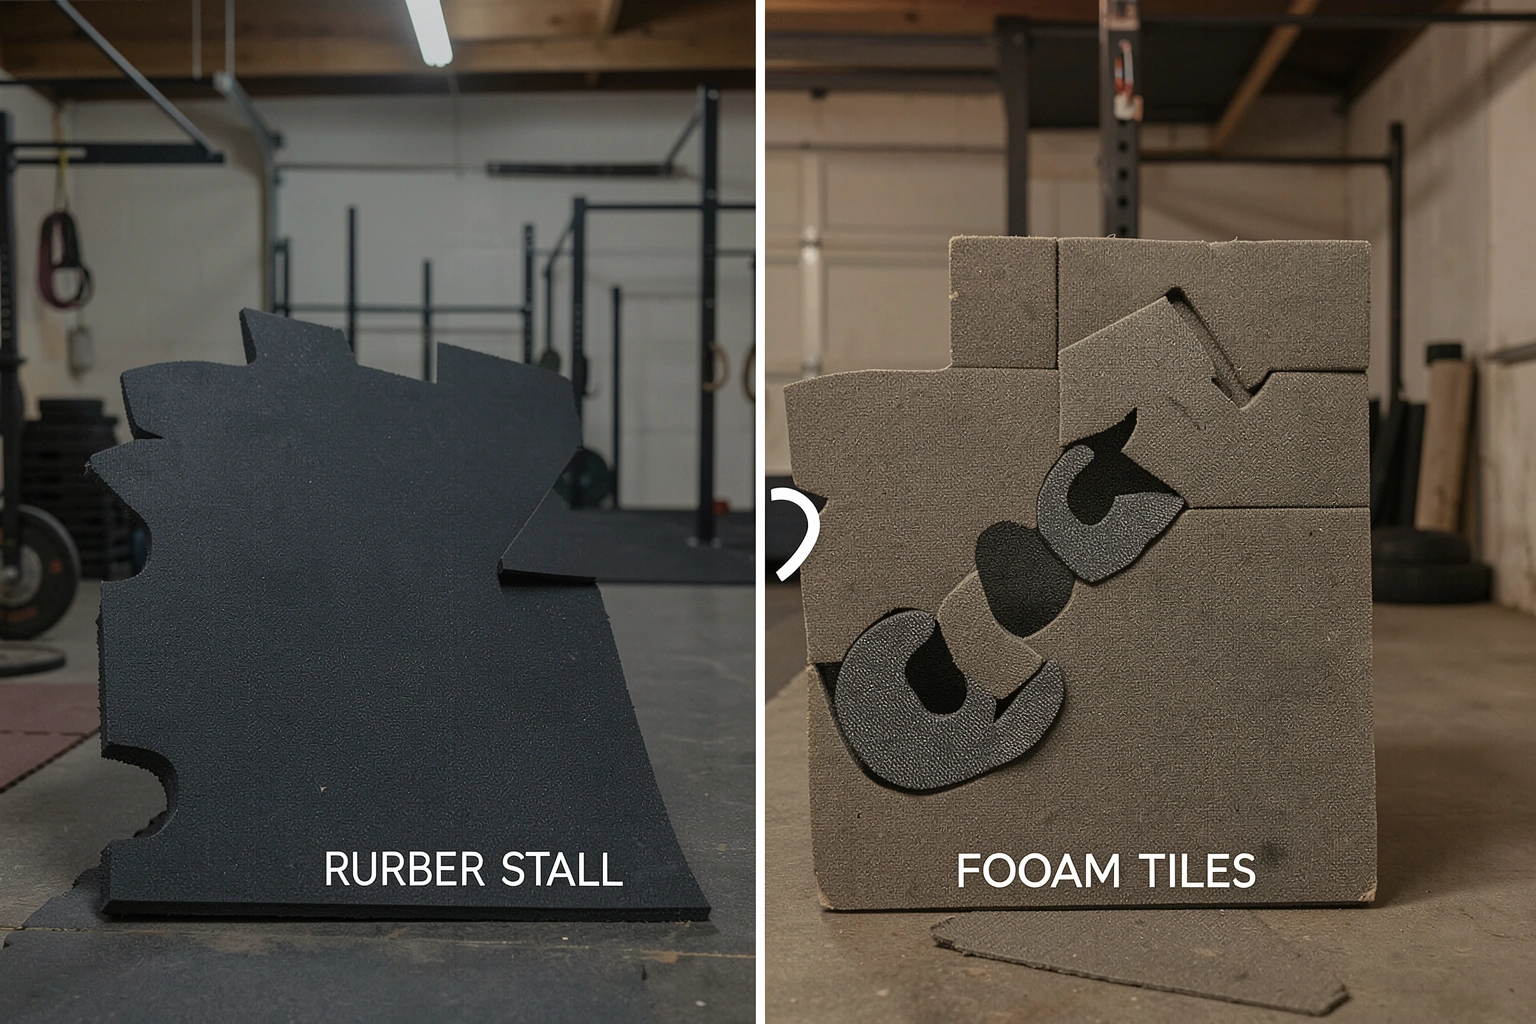
| Flooring type | Best for | Trade-off |
|---|---|---|
| Rubber gym flooring | General training, lifting, durability | Usually more expensive than basic foam options |
| Horse stall mats | Budget-conscious lifting and heavy use | Heavy, less refined finish, may need trimming |
| Foam tiles | Stretching, light fitness, temporary setups | Softer underfoot but not ideal for heavy weights |
Rubber gym flooring
Rubber flooring is a practical all-around option for a garage gym. It offers a stable surface for lifting and provides better protection than bare concrete. It also tends to look more finished than utility-style alternatives.
Horse stall mats
Horse stall mats are often used in garage gyms because they are durable and budget-friendly. They work well under racks and barbells, especially when you want a tough surface without paying for premium gym flooring. The trade-off is weight, thickness variation, and a more industrial appearance.
Foam tiles
Foam tiles are comfortable for bodyweight work, stretching, and light exercise. They are less suitable under heavy equipment because they can compress too much and shift under load.
If you lift heavy, prioritize a stable, non-slip surface. If your workouts are lighter and you want temporary or renter-friendly flooring, foam tiles can be useful in a smaller zone.
Plan Lighting and Electrical Needs
Good lighting makes the garage feel safer and more usable immediately. Electrical planning matters just as much, especially if you want to run a fan, dehumidifier, treadmill, or music setup.
Use bright, even lighting
LED lighting is a practical choice for garage gyms because it is bright and efficient. The goal is even light across the floor, not just a single overhead bulb that leaves corners dark.
If possible, improve lighting in layers:
– overhead general lighting
– task lighting near the rack or mirror
– optional portable lighting for darker corners
Check outlet placement and power load early
Look at where the existing outlets are before deciding where equipment goes. If an outlet is behind a rack or blocked by storage, it becomes inconvenient fast. Also avoid relying on extension cords as a permanent solution for equipment that draws regular power.
Common power considerations include:
– Fans: usually low to moderate power demand, but placement still matters because you may want them near the training area or aimed across the garage.
– Dehumidifiers: can run for long periods and may need a reliable outlet that is not shared with other high-use appliances.
– Treadmills: often need a stable power source and may work better on a dedicated outlet or circuit, especially if the garage already has limited capacity.
– Lighting: LED fixtures are efficient, but multiple fixtures on the same older circuit can still add up if that circuit already serves other garage loads.
If the garage has limited outlets or older wiring, it may be better to upgrade one or two key outlets than to spread equipment across overloaded extension cords. A licensed electrician can tell you whether a dedicated circuit is appropriate for your setup.
If you need new outlets or upgraded circuits, that is a good point to bring in a licensed electrician. Electrical capacity and code requirements vary by location, so this is not the place to guess.
Select Space-Saving Equipment That Matches Your Training Style
A garage gym does not need everything. In fact, the best setups are usually the ones that stay focused.
Start with versatile equipment
For most people, the core pieces are:
– power rack for squats, presses, and pull-up work
– adjustable dumbbells for compact strength training
– barbell and weight plates if you want progressive loading
– adjustable bench for pressing and accessory work
That combination covers a lot of training without taking over the whole garage. If space is tight, adjustable dumbbells often give more value per square foot than a full dumbbell set.
Small-garage starter setups by budget
For a very small garage, it helps to think in terms of compact starter setups rather than a full equipment wish list:
- Around $500 to $1,500: mat space, adjustable dumbbells or one pair of fixed dumbbells, resistance bands, and a foldable bench
- Around $1,500 to $4,000: compact power rack, bench, barbell, a starter set of plates, and wall storage
- Around $4,000 and up: more complete strength setup with rack attachments, better flooring, storage, and possibly a cardio machine if space allows
These are rough planning ranges, not fixed prices, but they can help you match equipment to the size of the garage and the amount you want to spend.
Add cardio only if you will use it
A treadmill, rower, or bike can be useful, but only if it fits your routine and floor plan. A bulky machine that blocks movement is a poor trade in a small garage. If cardio is secondary, keep it portable or choose a compact model.
Minimal setup vs. full-featured setup
A minimal garage gym might include a mat area, dumbbells, and a foldable bench. A full-featured setup could add a rack, barbell, plates, storage, cardio equipment, and dedicated warm-up space.
The better choice depends on how often you train and whether the garage must still serve another purpose. If the space is shared, compact gear usually wins.
Add Storage and Organization That Keeps the Gym Safe
Storage is not an afterthought. It is what keeps the garage usable after the first month.
Use wall and ceiling storage
Wall storage works well for plates, bars, bands, and smaller accessories. Ceiling storage can help with items that are seasonal or not used often, such as extra bins or spare equipment.
The main rule is simple: keep heavy items low and frequently used items easy to reach. That reduces strain and makes the floor safer.
Keep walkways clear
A cluttered gym becomes a trip hazard quickly. Weight collars, jump ropes, and loose plates should not end up in foot traffic areas. Give every item a home so the floor stays open for movement and emergency access.
A wall-mounted storage system can be a practical use of space because it helps keep the floor clear and makes the layout easier to maintain.
Understand Permits, Electrical Upgrades, and When to Hire Help
Many garage gym upgrades are straightforward, but some changes should be checked before you start.
Permit requirements
If you plan to alter electrical systems, insulation, walls, ventilation, or other permanent features, check with your local building department first. Permit requirements vary by location, and some work that seems minor can still trigger a review.
What is usually DIY-friendly vs. what often needs a pro
DIY-friendly projects often include:
– cleaning and decluttering
– installing removable flooring
– assembling racks, benches, and storage
– mounting lightweight storage when allowed by the wall structure
– adding non-permanent fans or portable equipment
Projects that commonly call for a licensed electrician or contractor include:
– adding new outlets or circuits
– upgrading the electrical panel
– hardwiring lighting or climate equipment
– insulation and wall finishing that changes the structure of the garage
– HVAC modifications
– repairs related to moisture intrusion, framing, or concrete damage
This is especially true for renters, who may need written permission before making permanent changes.
For code awareness on electrical safety, the Occupational Safety and Health Administration offers general safety information that can help frame the risks, even though it is not a substitute for local code.
Avoid the Most Common Garage Gym Mistakes
The fastest way to waste money is to build around assumptions instead of the actual garage conditions.
Common mistakes to avoid
- buying equipment before measuring the space
- placing heavy gear directly on bare concrete
- ignoring moisture or temperature swings
- filling the garage with too much equipment too soon
- forgetting storage and ending up with clutter
- underestimating electrical needs
- choosing flooring that is too soft for lifting
- skipping permit checks for permanent upgrades
A good test is whether you can walk through the garage, load equipment, and train without moving things around every session. If the answer is no, the layout needs work.
Build and Maintain a Garage Gym That Works Long Term
Once the space is planned, the installation order should stay practical: clean and inspect, address moisture or damage, install flooring, improve lighting, set up storage, then bring in equipment. Doing it in that sequence keeps the space functional at each step.
After the gym is built, maintenance is simple but important. Sweep or vacuum regularly, wipe down equipment, check for moisture after storms, and keep storage organized so the floor stays open. If the garage serves both as a gym and parking space, reset the layout after each use so the two functions do not fight each other.
A garage gym does not need to be elaborate to be effective. It just needs the right foundation: a floor that can handle training, a layout that fits your space, and equipment that matches how you actually work out.
Frequently Asked Questions
Do I need to insulate a garage gym?
Not always. If the garage is only used in mild weather, basic sealing and ventilation may be enough. In hot, cold, or humid climates, insulation or climate control becomes more useful.
Can I still park in the garage after converting part of it?
Yes, if you plan the layout around parking from the beginning. A half-garage setup, wall storage, and foldable equipment make that much easier.
What flooring is best for a garage gym?
Rubber flooring is a versatile choice for general use. Horse stall mats are a budget-friendly option for lifting. Foam tiles are better for light exercise than heavy weights.
What equipment should I buy first for a small garage gym?
A compact starter setup usually works best: adjustable dumbbells, a bench, a mat area, and storage. If strength training is the priority, add a power rack, barbell, and plates.
Do I need permits for garage modifications?
Sometimes. Electrical, insulation, HVAC, and structural changes may require permits depending on your location. Check with your local building department before making permanent changes.