
How to Prepare a Room for a Home Gym

Turning an existing room into a home gym is mostly a planning job. The room does not need to be perfect, but it does need to be safe, stable, and arranged around the way you actually train. A spare bedroom, basement, garage, or even a section of a larger room can work well if you think through space, flooring, ventilation, lighting, and storage before moving equipment in.
The biggest mistake is treating room prep as an afterthought. Once a rack, treadmill, bench, or set of dumbbells is in place, fixing layout problems gets harder. A little measuring and setup work up front usually saves money, protects the room, and makes the space easier to use every day.
Choose the Right Room First
The best room is not always the largest room. It is the one that gives you enough usable space, acceptable noise levels, decent airflow, and a floor that can handle the type of training you plan to do.

A basement is often a strong choice for strength training or mixed-use setups if moisture is under control. It can be easier to keep heavy lifting out of the main living areas, and the enclosed location may help contain noise. The trade-off is that basements can be more prone to dampness, lower ceiling height, and cooler temperatures. If the space feels humid or musty, plan on a dehumidifier, better lighting, and flooring that can handle the environment.
A garage gives you flexibility and is often a practical choice for heavier lifting or equipment that makes noise, especially if you want a durable surface and easier cleanup. The downside is temperature swings. If the garage is uninsulated or poorly sealed, it may be uncomfortable for much of the year without added climate control. Garages can also be less renter-friendly if you need to make permanent changes.
A spare bedroom is usually the most comfortable from a climate standpoint and is often the easiest option for renters. It works best for compact strength setups, mobility work, and lighter cardio. The challenge is space. Bedrooms often have tighter clearances, more outlets to work around, and more concern about noise transfer to adjacent rooms. They are usually less forgiving if you want a treadmill, a rack, or frequent jumping movements.
| Room type | Best for | Main advantages | Common drawbacks | Renter-friendliness |
|---|---|---|---|---|
| Basement | Strength training, mixed-use gym | Noise buffering, privacy, often more open floor area | Moisture, dim lighting, possible humidity issues, lower ceilings | Moderate |
| Garage | Heavier lifting, cardio, easy cleanup | Space, durable surfaces, flexible layout | Temperature swings, insulation needs, noise transfer | Moderate to high if changes are temporary |
| Spare bedroom | Compact gym, lighter strength work | Comfortable climate, easy access | Limited space, noise concerns, clutter risk | High |
| Multi-use bonus room | Light strength and cardio | Flexible, convenient | Requires careful layout and storage | High |
If you are deciding between rooms, use five questions: Can I move safely in here? Can the floor handle the equipment? Will the room stay reasonably dry and comfortable? Will the noise bother anyone? Is the ceiling high enough for the exercises I want to do?
For most people, that is the simplest way to narrow the choice.
Measure the Space and Plan the Layout
Before buying or moving anything, measure the room in a way that reflects real use, not just wall-to-wall dimensions. A room can look large on paper and still feel cramped once you account for door swings, baseboards, ceiling slope, and movement space around equipment.
Measure three things:
- Usable floor area
- Ceiling height
- Clearance around doors, vents, outlets, and windows
Then sketch the room and place the largest items first. A rack or squat rack, bench, treadmill, or storage unit should define the layout before smaller accessories do.
A simple way to estimate usable space is to start with the equipment footprint, then add the space you need to move around it. In a small room, that often means planning for both the machine and the person using it, not just the machine itself.
Practical clearance ranges for common setups:
- Weight bench: leave about 2 to 3 feet of open space on the working sides so you can load plates, sit down, and move around safely
- Treadmill: leave about 2 feet on each side and several feet behind it if possible, especially if the room is tight or the treadmill will be used often
- Rack or squat rack: leave enough room in front and on the sides to load weights, step back, and walk around without brushing walls or storage
- General walking path: aim for a clear route that does not force you to turn sideways around equipment or step over cords
Think in zones:
- A lifting zone
- A cardio zone
- A storage zone
- A clear walking path
That separation matters in small rooms. If the center of the room stays open, the space feels safer and less cluttered.
If you want to combine strength and cardio in the same room, put the largest, least movable item in its final location first. For example, place the rack or treadmill where it has the best clearance, then fit the bench, dumbbells, and storage around it. That usually works better than trying to make everything fit at once.
Ceiling height also matters more than many people expect. Overhead movements, tall racks, pull-up work, and even some cardio machines can feel awkward in a low-ceiling room. If you are near the limit, test your standing reach and the highest point of any planned movement before committing.
Decide Whether the Setup Should Be Temporary or Permanent
This choice affects almost every other decision. A permanent setup makes sense if you own the home, know the room will stay a gym for a long time, and want a more finished result. A temporary setup is usually better for renters or for rooms that still need to serve another purpose.
Permanent changes can include:
- More substantial flooring
- Wall-mounted storage
- Anchored racks or mirrors
- Better lighting
- Climate improvements
Temporary changes are easier to reverse:
- Interlocking floor tiles
- Freestanding storage
- Portable fans or dehumidifiers
- Non-permanent mirrors
- Removable wall protection
For renters, the safest path is usually to avoid anything that requires major wall damage or floor modification. That does not mean the room has to feel flimsy. It just means choosing materials and storage that can come out cleanly later.
Budget-friendly and renter-friendly prep options include:
- Interlocking foam or rubber tiles that can be removed later
- Freestanding shelving or dumbbell storage
- Rubber mats placed only under equipment zones
- Portable fans, dehumidifiers, or space heaters as needed
- Removable wall guards or panels in high-contact areas
- Cord covers and adhesive cable clips that do not require drilling
A temporary setup also works well if the room needs to switch back and forth between gym, office, or guest room. In that case, prioritize items that stack, roll, or fold away.
Prepare the Floor for Impact, Stability, and Noise Control
Flooring is one of the most important prep decisions because it affects safety, noise, and how much wear the room can handle. The right choice depends on what you will do in the room.
Rubber gym flooring is the most versatile option for a basic-to-mid-level home gym. It gives better impact protection and slip resistance than thin foam and usually holds up better under benches, racks, and dumbbells. It also helps reduce vibration transfer compared with bare subfloors. If you are building a more serious strength area, rubber is usually the first place to start.
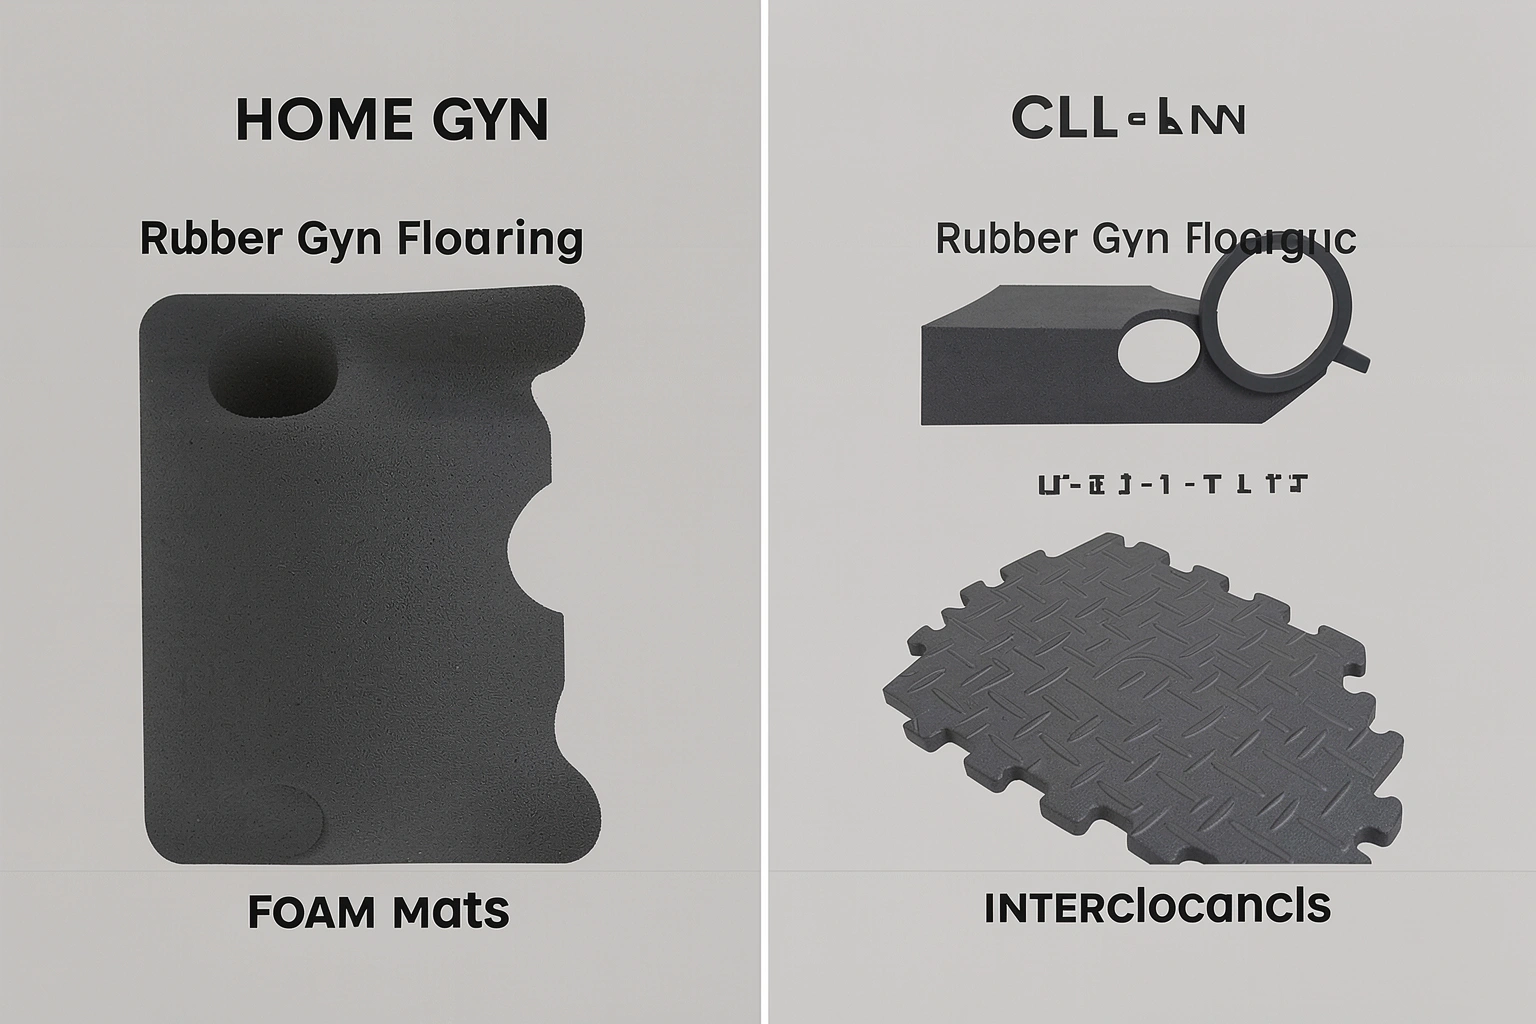
Foam mats are softer and often cheaper, which makes them useful for stretching, floor work, or light bodyweight exercise. They are not the best choice for heavy weights, dropped dumbbells, or equipment that needs a stable base.
Interlocking tiles are convenient because they are easy to install and remove. They can work well in rentals or smaller rooms, especially when you want a temporary setup. Some systems feel less stable than rolled rubber, though, so they are usually better for lighter use or for covering a small area rather than supporting a heavy rack by themselves.
Horse stall mats are often used in garages because they are durable and easy to clean. They can be a practical option when you want a tough surface and do not mind a heavier, more industrial look. They are often a good fit for heavier lifting in a garage, but they may be less ideal in a bedroom or finished living space because of weight, smell, and appearance.
A simple rule: choose the most durable flooring you can reasonably support in the room that matches your training style. If you will lift heavy, use rubber or a similarly tough surface. If the room is mostly for mobility and light work, foam may be enough.
If you are deciding between flooring types, use the room and training style as the guide:
- Rubber gym flooring: best for general home gyms, racks, benches, and mixed strength work
- Foam mats: best for stretching, bodyweight exercise, and light temporary setups
- Interlocking tiles: best for renters, small rooms, and reversible installations
- Horse stall mats: best for garages and heavier lifting areas where durability matters more than appearance
If the room sits over living space or neighbors, add more attention to vibration control. Thick flooring alone does not solve every noise issue, but it does help reduce the sharp impact of dropped weights and moving equipment.
Protect the Walls, Ceiling, and Nearby Surfaces
Walls take more abuse than people expect in a gym room. Dumbbells get swung too close, benches shift, and equipment edges scrape paint. If you are setting up near a rack, bench, or storage wall, add protection before the room gets used.
Practical options include:
- Rubber wall panels or padding in high-contact areas
- Paint protection behind benches and dumbbell storage
- Mirrors placed where they will not be struck by equipment
- Wall anchors for items that must stay fixed
Anchoring matters for tall or top-heavy storage, but it has to be done correctly for the wall type. Stud walls, concrete, and masonry each require different hardware. If you are not sure what the wall can support, check the structure before drilling.
Keep ceiling clearance in mind too. Pull-up bars, overhead presses, and tall racks can feel cramped in low rooms. Even if the equipment technically fits, you still need enough room to move without hitting fixtures, lights, or ceiling fans.
A useful habit is to stand where each exercise will happen and move through the motion before installation. That quick test often reveals whether a wall, corner, or light fixture is too close.
Handle Ventilation, Temperature, and Humidity
A gym room gets warm quickly, especially if it is enclosed or used for cardio. Good airflow makes the room more comfortable and helps prevent the stale, stuffy feeling that can make workouts feel harder than they should.
If the room already connects well to your HVAC system, start there. Open vents, a working return path, and a door that does not seal the room too tightly can help. In rooms that run hot or damp, a fan or portable air mover can improve circulation.
Basements and garages often need extra attention. Basements may benefit from a dehumidifier if the space feels damp or musty. Garages may need both airflow and temperature management, depending on the season and insulation.
Moisture control matters because it affects more than comfort. Excess humidity can make flooring, equipment, and stored items wear faster, and it can create unpleasant odors in a closed room.
If you want a general reference point for indoor air and comfort guidance, the U.S. Environmental Protection Agency has useful information on indoor air quality and moisture control, while the CDC offers broader safety guidance that can help you think through healthy indoor conditions.
Set Up Lighting and Electrical Access
Good lighting makes the room safer and easier to use. A home gym should be bright enough that you can see footing, equipment settings, and any obstacles on the floor.
Natural light is helpful, but it should not be the only source. If the room is in a basement or garage, add overhead lighting or bright task lighting so the space does not feel dim and closed in. In a spare bedroom, replacing a weak lamp setup with more even light can make the room feel larger and more functional.
Electrical access matters just as much. Plan where your powered equipment will sit before you place it. Treadmills, fans, rowers, and some cardio machines need convenient access to outlets, and cords should never cut across a walking path.
Use cord management so cables stay flat and out of the way. That can be as simple as routing cords along a wall or under a protective cover. Avoid stretching extension cords across the room unless the manufacturer allows it and the setup is clearly safe.
If you are adding heavier electrical loads or new circuits, that is the point to consult a licensed electrician rather than guessing.
Reduce Noise and Vibration Before They Become a Problem
Noise is not only about volume. In a home gym, vibration is often the bigger issue because it travels through the floor and structure. That matters in apartments, shared homes, and upstairs rooms.
The easiest way to reduce noise is to prevent hard impacts in the first place. Rubber flooring, stable equipment placement, and careful movement habits all help. If you are lifting heavy, place the most impact-prone area on the thickest part of the floor protection.
For cardio equipment, vibration isolation pads or a dense mat can help reduce shaking. They will not make a treadmill silent, but they can reduce the amount of vibration transmitted to the floor below.
If the room is above living space or near neighbors, avoid placing loud equipment directly against shared walls. A few feet of separation can make a noticeable difference.
There is always a trade-off: more noise reduction usually means more material, more weight, or more cost. In a rental or temporary setup, a modest improvement may be more realistic than trying to fully isolate the room.
Plan Storage and Organization for a Small or Multi-Use Room
Storage is what keeps a gym room usable after the novelty wears off. Without a plan, accessories spread across the floor and the room becomes harder to move through safely.
Use vertical space whenever possible. Wall-mounted racks, shelves, or hooks can keep small items off the floor. Freestanding storage works better if you cannot anchor into the wall or if you need the room to stay reversible.
A good storage plan usually separates items by use:
- Frequently used items within easy reach
- Heavier items low to the ground
- Small accessories in bins or baskets
- Mats rolled or stacked neatly out of the way
Do not place storage where it narrows the path to a bench, rack, or door. A cluttered walkway is a trip hazard and makes the room feel smaller than it is.
If the room serves another purpose, choose storage that can hide or stack away. That might mean a compact dumbbell stand, a closed cabinet, or a freestanding shelf that does not make the room look like a warehouse.
Step-by-Step Room Prep Checklist Before You Bring Equipment In
Use this sequence so the room is ready before anything heavy arrives:
- Choose the room based on moisture, temperature, noise, ceiling height, and renter restrictions.
- Measure the usable floor space and sketch the layout with your largest equipment first.
- Clear out furniture, decor, and anything that blocks movement or access.
- Inspect for moisture, soft spots, cracks, uneven flooring, or structural concerns.
- Install the flooring or mats before moving in equipment.
- Address ventilation, lighting, and electrical access while the room is still open.
- Add wall protection, storage, cord management, and any anchors or pads.
- Place equipment in the room and test the clearances before tightening everything down.
- Walk through each exercise pattern to confirm that doors, outlets, vents, and walkways still work.
- Do a final cleanup so the room is dry, level, and free of trip hazards.
This is also the point to confirm that temporary items are stable and that permanent items are installed correctly. It is much easier to make changes now than after the room is full.
Common Mistakes to Avoid When Preparing a Home Gym Room
A lot of home gym problems come from skipping the prep stage. These are the mistakes that cause the most frustration:
- Choosing a room without checking ceiling height or movement clearance
- Using flooring that is too thin for the equipment
- Placing equipment too close together
- Ignoring humidity in basements or temperature swings in garages
- Blocking outlets, vents, or exits
- Underestimating noise and vibration
- Forgetting storage until the room is already cluttered
- Making permanent changes in a rental without planning for removal
The pattern behind most of these mistakes is simple: the room is measured for furniture, not for movement, impact, and repeated use. A home gym needs a little more planning than a normal room because the equipment is heavier, the motions are bigger, and the consequences of poor layout are more annoying.
When to Consult a Professional
Some parts of a home gym setup are straightforward. Others are better handled by a pro.
Consider professional help if you need:
- Electrical work for new outlets or circuits
- Structural advice about floor load or reinforcement
- Guidance on anchoring to a wall type you do not understand
- Moisture remediation for a damp basement
- Help with insulation, ventilation, or temperature problems
- Any change that could affect fire safety, exits, or code compliance
That does not mean the whole project is complicated. It just means the room should be safe before the equipment arrives.
FAQ
What kind of room is best for a home gym?
The best room is the one that balances space, ceiling height, floor strength, ventilation, and noise tolerance. Basements are often good for strength work, garages work well for durable setups, and spare bedrooms are best for smaller, quieter gyms.
How much space do I need?
There is no single number that fits every setup. Measure the equipment footprint, then add enough open space for safe movement, walking paths, and storage access. A room that feels tight on paper usually feels tighter once equipment is in place.
What flooring should I put down?
Rubber flooring is usually the most practical choice for a general home gym because it handles impact and provides better stability than foam. Foam mats are better for lighter use, while interlocking tiles are useful when you want something easier to remove.
Do I need to reinforce the floor?
Not always. But if you plan to use very heavy equipment, a rack, or repeated dropped weights, it is worth checking whether the floor can safely handle the load. If you are unsure, get a structural opinion before setting up.
How do I make a gym room less noisy?
Use dense flooring, keep equipment off shared walls when possible, and add vibration control under cardio machines or heavy items. The most effective noise reduction usually comes from combining several modest fixes rather than relying on one product.
Can renters make a home gym without damaging the room?
Yes. Temporary flooring, freestanding storage, portable fans, and non-permanent wall protection can create a solid setup without major changes. The key is avoiding modifications that cannot be removed cleanly later.
What should I do before moving equipment in?
Clean the room, check for moisture, confirm outlet access, test door swings, and place the flooring first. It is much easier to solve layout problems before the room is full.
Do I need special ventilation?
If the room gets hot, stale, or damp, extra airflow helps. Basements and garages often benefit from a fan or dehumidifier, while rooms tied into HVAC may only need better circulation and smarter layout.
What is the safest way to arrange a small gym?
Keep the center clear, put large equipment first, and store small items vertically or in bins. The room should let you move without stepping around loose accessories or tight corners.
Should I make the room permanent or temporary?
Choose permanent changes if the room will stay a gym and you own the space. Choose temporary changes if you rent, expect to move, or need the room to serve multiple purposes.
A well-prepared gym room is less about making the space look impressive and more about making it work every time you use it. Once you have chosen the room, measured the layout, and handled flooring, ventilation, and safety, the next practical step is to place your largest piece of equipment first and test the clearances before you finish the setup.