
Home Gym Door Clearance: How Much Space You Need and How to Measure It

Before you buy a rack, treadmill, or cable machine, measure the doorway the equipment has to pass through. In home gyms, the problem is rarely just the door itself. The real bottlenecks are usually the jamb, trim, hinges, hallway turns, and the way the equipment has to be tilted or carried.
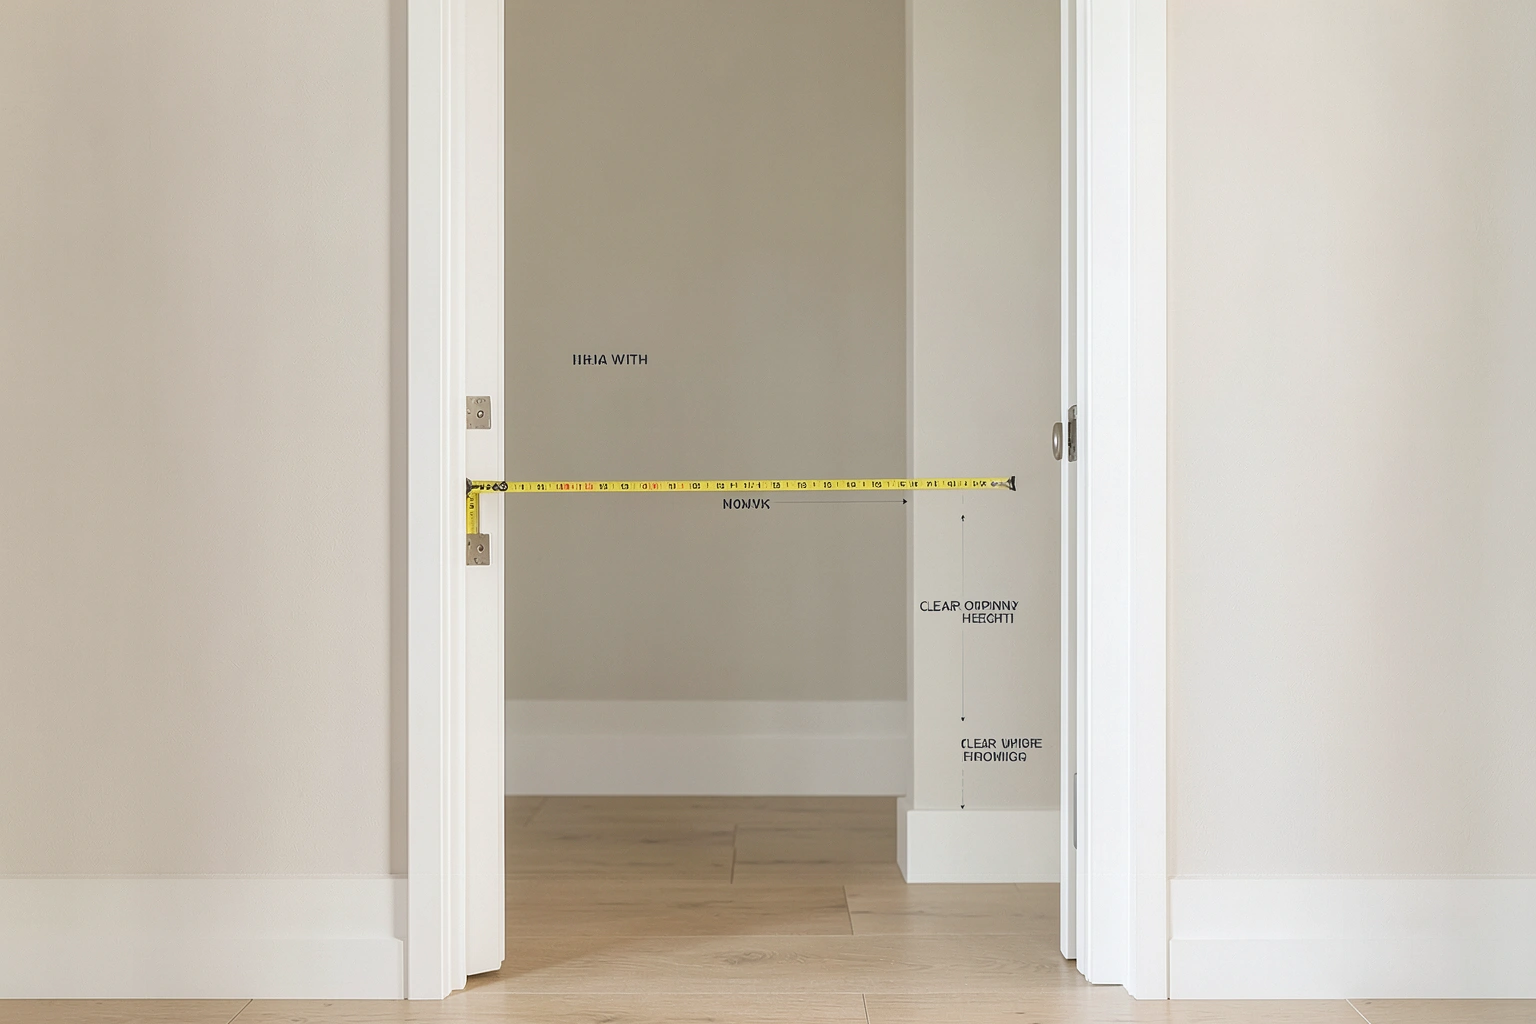
A piece of equipment may look “too wide” on paper and still fit through a doorway if it can be rotated. Another may technically fit the door opening but get stuck at the corner leading into the room. That is why home gym door clearance should be checked as a full access path, not just a single measurement.
What Door Clearance Means for a Home Gym
For gym setup, door clearance means the usable opening you can actually pass equipment through, plus enough space to move it safely without scraping walls, trim, or the door.
That is different from the nominal door size you see in a listing or on a floor plan. A “36-inch door” does not usually give you a full 36 inches of uninterrupted usable width. The jamb, stop, hinges, and trim reduce the practical opening. The same idea applies to height.
If you are trying to move in a bench, treadmill, or rack, the question is not “What size is the door?” but “What is the narrowest usable opening from the approach path into the room?”
Nominal size vs. actual opening
A door can be labeled by its nominal size, rough opening, or frame size, but the clear opening is what matters for equipment. The clear opening is the space left after you account for the parts that physically occupy the doorway.
That difference matters most when:
- the equipment is close to the doorway width
- the item must be carried upright
- the item has fixed handles, feet, or uprights that widen the footprint
- the hallway approach narrows before you reach the door
For a practical example, a bench may pass through a standard interior doorway easily, while a squat rack upright or assembled treadmill deck may need tilting, partial disassembly, or a different route.
Standard Door Dimensions: Interior, Exterior, and Real Usable Opening
Residential doors vary, but a few common sizes come up often enough to use as a planning reference. These are not guarantees that your exact doorway will match, but they help you estimate whether an item is likely to fit.
| Door type | Common nominal size | What that usually means in practice |
|---|---|---|
| Interior door | Often around 30-36 inches wide | Usually enough for smaller equipment, but not always enough for fully assembled racks or large cardio machines |
| Exterior door | Often wider than interior doors | Better for moving bulky items, especially if the door can be removed temporarily |
| Accessibility-related doorway guidance | Often larger than typical interior doors | Useful reference if you are planning a room that must stay easy to enter and exit |
For quick fit planning, these rule-of-thumb thresholds are often more useful than the nominal door label:
- 28-inch clear opening: usually only small, narrow items; most benches are manageable only if they can be angled, and larger cardio or rack parts often will not be comfortable
- 30-inch clear opening: often workable for a flat bench, smaller dumbbell storage, and some compact machines, but tight for assembled treadmills or rigid frames
- 32-inch clear opening: a common practical target for many home gym moves; often enough for a bench, some cardio equipment when tilted, and disassembled rack components
- 36-inch clear opening: much more forgiving for bulky items, though large assembled racks, treadmills, and cable machines may still need tilting or partial disassembly
For example, a flat bench often passes through a standard interior door with room to spare, while an assembled treadmill deck or rack upright may need a wider opening, a different angle, or partial disassembly.
For accessibility guidance on door openings and clearances, the U.S. Access Board publishes standards that are useful as a reference point for clear passage dimensions and maneuvering space: U.S. Access Board. For building-related door and egress concepts, the International Code Council is another useful reference.
Why the usable opening is smaller than the labeled door
The door slab itself is not the only thing reducing space. The effective opening depends on:
- the thickness of the door slab
- the hinge side and stop
- trim around the opening
- whether the door opens inward or outward
- whether the door can open fully without hitting equipment
A door that opens only partway can reduce the path for a long object like a treadmill base or a barbell tree. Even if the doorway is wide enough, the swing arc may block the angle needed to turn the item through.
How to Measure Your Doorway Correctly
Measure the doorway as if you are trying to move the largest item through it, not as if you are checking a room on a listing.
Step 1: Measure the clear width
Measure from the inside edge of one side of the usable opening to the inside edge of the other side. Do this at the narrowest point, not just at the center.
Check for:
- trim that narrows the opening
- protruding hinges
- weatherstripping on exterior doors
- a door stop that reduces usable space
If the doorway has uneven edges, use the smallest width you find.
Step 2: Measure the clear height
Measure from the finished floor to the lowest point of the opening. Do not assume the labeled door height equals the usable height.
This matters for:
- tall upright equipment
- treadmills with raised handles or consoles
- moving items on end or at an angle
Step 3: Measure the approach path
A doorway can look large enough until you try to turn into it. Measure the hallway width and any turn leading up to the door. A tight corner can make a wide item impossible to angle into the opening.
Pay attention to:
- hallway width
- stair landings
- door swings from adjacent rooms
- radiators, railings, or built-ins near the path
Step 4: Measure the swing arc
Open the door fully and see how much space it occupies. If the door opens inward, it can block the angle you need to bring equipment into the room. If it opens outward, it may interfere with hall traffic or equipment stored near the entry.
Step 5: Compare the equipment’s largest dimension
Check the manufacturer’s dimensions for the assembled item, not just the shipping box. For some equipment, the box is larger than the assembled product. For others, the assembled frame is the limiting factor.
Use this simple checklist for the equipment itself:
- Measure the widest point of the assembled item
- Measure the tallest point
- Include protrusions such as wheels, bolts, handles, feet, and fixed arms
- If the item has removable parts, measure it both assembled and partially disassembled
- Compare those numbers to the clear width and clear height of the doorway
If the product manual lists assembly and disassembly steps, use those before assuming the item must move through the doorway fully assembled. Manufacturer manuals and spec sheets are the best source for this kind of fit check.
How Much Clearance Common Home Gym Equipment Usually Needs
Different equipment types create different doorway problems. The easiest items to move are usually those that are narrow, flat, or easy to carry on edge. The hardest are usually large frames with fixed width, long bases, or awkward center of gravity.
Treadmills
Treadmills are often easier to move than they look if the deck can be tilted and the console height is manageable. The challenge is usually not just width, but length and balance.
Practical guidance:
- check the assembled dimensions, not the shipping carton
- confirm whether the treadmill can be tilted on its side for passage
- watch for fixed handrails or a bulky console that may be the widest point
A treadmill may fit through a standard doorway only when tilted. That makes hallway width and ceiling height more important than the door label alone.
Power racks and squat racks
These are often the most difficult items to move through a standard doorway when fully assembled. Uprights, crossmembers, and feet can create a footprint that is wider than the clear opening.
Practical guidance:
- assume a fully assembled rack may not fit
- compare the rack’s widest assembled dimension to the clear opening
- check whether the rack is designed to be assembled inside the room
In many home gyms, the simplest answer is to bring the rack in piece by piece and assemble it inside.
Benches
Benches are usually among the easiest pieces to move through a doorway because they are relatively narrow and low. The issue is often not the bench itself but the route to the room.
Common problems include:
- a tight hallway corner
- a door that opens inward and reduces turning space
- fixed handles or wheels that add width
A flat bench often passes through a standard interior door with room to spare, but a long adjustable bench can still be awkward in a narrow hallway.
Dumbbell racks and storage stands
These can be deceptive. A compact rack may seem manageable, but fixed shelves, angled uprights, or welded feet can make the item wider at the base than expected.
If the rack is heavy and rigid, measure the widest point and the depth needed to rotate it through the opening. If it cannot be tilted safely, it may be better to carry it in disassembled or choose a different storage location.
Cable machines
Cable machines are often easier to install than move because many arrive in multiple boxes or flat-pack pieces. That is a major advantage in tight homes, garages, and basements.
If the machine is modular, the shipment may pass through a doorway even when the fully assembled unit would not. This is one reason to review the manual before delivery. A piece that is impossible to move as one unit may be straightforward to assemble inside the room.
Assembled vs. Flat-Pack Equipment: Which Will Fit Through the Door?
This is one of the biggest planning decisions for a home gym.
Fully assembled
Moving equipment fully assembled is fastest when it fits, but it is also the riskiest in tight spaces. The item may be heavier, harder to balance, and more likely to hit the door frame.
Use this approach when:
- the item is clearly smaller than the opening
- the route is straight and unobstructed
- the item has wheels or handles designed for moving
Partially disassembled
This is often the best compromise. Removing feet, handles, uprights, or console pieces can turn a difficult move into a manageable one.
Use this approach when:
- the manual allows basic disassembly
- the equipment is close to the doorway limit
- the item needs a better angle to pass through
Flat-pack or piece-by-piece assembly inside the room
This is usually the safest choice for large racks, cable machines, and some multi-station systems. It avoids forcing a large frame through a narrow opening and reduces the chance of damage.
Trade-off: assembly takes longer, and you need enough room to work inside the space.
If you are choosing between two similar machines, the one that breaks down into smaller parts is usually easier to live with in a home gym.
If it is wider than the doorway, can it still fit?
Sometimes it can, if the item can be rotated through the opening. A diagonal or vertical carry can reduce the effective width needed at the doorway, but only if the hallway, ceiling height, and swing path allow it.
That said, a rotated item still has to clear the narrowest point in the path. If the hallway is tight or the object is rigid and top-heavy, rotation may not solve the problem.
When You Need to Remove the Door, Hinges, or Trim
Sometimes the best answer is not to force the equipment through the doorway at all. Temporary removal can buy just enough room for a safer move.
Remove the door slab when:
- the opening is only slightly too tight
- the door swing blocks the turning angle
- the item will pass if you gain a small amount of space
This means taking the door itself off the hinges. It is usually the first thing worth trying because it is reversible and often gives the most practical extra room for the least effort.
Remove hinge pins when the door slab is the only obstacle
Removing the hinge pins is another way to take the door slab off without removing the hinges from the frame. This is worth trying when you want the door out of the way quickly and the hinges are standard and accessible.
It usually helps when the issue is the door’s swing or the slab’s thickness, not the frame opening itself.
Remove trim only when the opening is close but not quite enough
Removing trim can add a little more usable clearance, especially if the casing is the limiting factor. This is worth trying when the equipment is just barely too wide and the trim is clearly narrowing the opening.
It is less useful if the jamb itself is the real bottleneck.
Do not modify the opening just to force a fit
If the item is still clearly too large even after removing the door, trim removal is probably not the right solution.
When removing the full frame is worth considering
Removing the full frame is a much bigger step and is usually only worth it if you are doing a larger renovation or the equipment absolutely cannot be moved any other way. For most home gym setups, that is more than you need.
Don’t Forget Hallways, Corners, and Stairways
The doorway is only one obstacle. In many homes, the real problem is the approach.

A treadmill or rack may fit the door opening but fail at the corner leading into the room. That happens when the item cannot be rotated enough to line up with the opening.
Check the tightest point in the path
Measure:
- hallway width
- stair width
- landing depth
- any turn near the doorway
If the item has to be angled, the diagonal space matters more than the straight measurement.
Watch for stairway limitations
Stairs add two problems: balance and headroom. A large item can be physically possible to move but unsafe to carry up or down a stairwell. If the item is heavy, awkward, or top-heavy, consider whether the route is practical before delivery day.
Door Swing Clearance and Safe Placement Around Equipment
Once the equipment is inside, the door still has to work.
A door that hits a rack, bench, or storage tree is more than an inconvenience. It can damage the frame, create a pinch point, or block safe exit from the room.
Leave space for the door to open fully
If the room is small, test the door swing before final placement. Open and close it with the equipment in the room to see whether the path stays clear.
Keep the entry usable
Do not place storage, dumbbells, or a rack so close to the door that the room becomes awkward to enter. If the door opens inward, equipment placed too near the entry can make the room feel cramped even when the floor plan looks fine.
For safety and egress concepts, NFPA provides general guidance on clear exits and fire safety principles that are worth considering when laying out any room with a door.
Safety Tips for Moving Heavy Equipment Through Tight Openings
Tight doorway moves create a few predictable risks. Use a short moving checklist instead of relying on guesswork:
- Clear the route before lifting
- Measure the narrowest width, not the advertised door size
- Remove the door slab, and then trim only if needed
- Keep fingers clear of the jamb, hinges, and underside of the load
- Use moving blankets or corner protection where needed
- Assign one person to watch the door frame and one to guide the load
- Reset the angle if the item binds instead of forcing it through
Quick Decision Checklist: Will It Fit, or Should You Change the Plan?
Use this checklist before delivery or pickup:
- Does the equipment’s widest point fit the clear doorway width?
- Does the tallest point fit the clear doorway height?
- Can the hallway or stair landing support the turn?
- Can the item be tilted safely if needed?
- Can it be partially disassembled?
- Is the door swing blocking the entry path?
- Would removing the door solve the problem without modifying the frame?
- Is it easier to assemble the equipment inside the room?
If you answer “no” to more than one of those questions, rethink the access plan before moving day.
When to Consult a Professional
If the equipment is expensive, extremely heavy, or likely to require trim removal, hinge work, or doorway changes, it is worth asking a qualified installer, carpenter, or mover for help. That is especially true when the route includes stairs, tight turns, or a garage opening that may need temporary adjustments.
A professional can also help if you are unsure whether a doorway change will affect the room’s function, especially if the door must still open and close normally after the gym is installed.
Frequently Asked Questions About Home Gym Door Clearance
Will a standard interior door fit most home gym equipment?
Not always. Smaller items like benches and some flat-pack pieces often fit, but fully assembled racks, larger treadmills, and some cable machines may not. Measure the equipment’s widest point and compare it to the clear opening.
Is the shipping box or the assembled size more important?
Usually the assembled size matters most. Shipping boxes can be larger than the finished item, but for fit planning, the final dimensions and any protruding parts are what determine whether the equipment can pass through the doorway.
Can I tilt equipment to make it fit?
Sometimes, yes. Tilting can help with treadmills, benches, and some compact machines. It is less helpful for rigid frames with a wide fixed base. Always check whether the equipment remains stable when tilted.
Should I remove the door before moving equipment in?
If the item is close to fitting, removing the door can provide just enough extra room. If the equipment is still too large after that, the better answer is usually disassembly or a different route.
What if the doorway fits but the hallway does not?
Then the doorway is not the real problem. Measure the full path, including corners and landings. Many equipment moves fail at the approach, not at the opening itself.
Do garage gym setups usually have easier access?
Often yes, especially if the garage door opening is wide and unobstructed. But the same rules still apply: check the clear opening, the turn into the space, and whether the equipment can be moved safely without scraping the frame.
How much space should I leave around the door after setup?
Leave enough room for the door to open and close without hitting equipment, and enough room for a person to enter comfortably. If the door becomes hard to use, the layout is probably too tight.
What is the safest way to decide if equipment will fit?
Measure the doorway, measure the route, compare those numbers to the manufacturer’s specs, and then decide whether to move it assembled, partially disassembled, or inside in pieces. That sequence avoids guesswork and prevents most damage.